
Cold brew coffee is easy to make overnight in the refrigerator, the resulting concentrate stays fresh in a refrigerated sealed container for weeks, and cold brew coffee is gentler on your stomach because there’s no heat involved in the brewing process. Here’s the breakdown on making your own fresh cold brew at home, split between grinding and brewing on Day 1 and then filtering and storing on Day 2.

The Setup
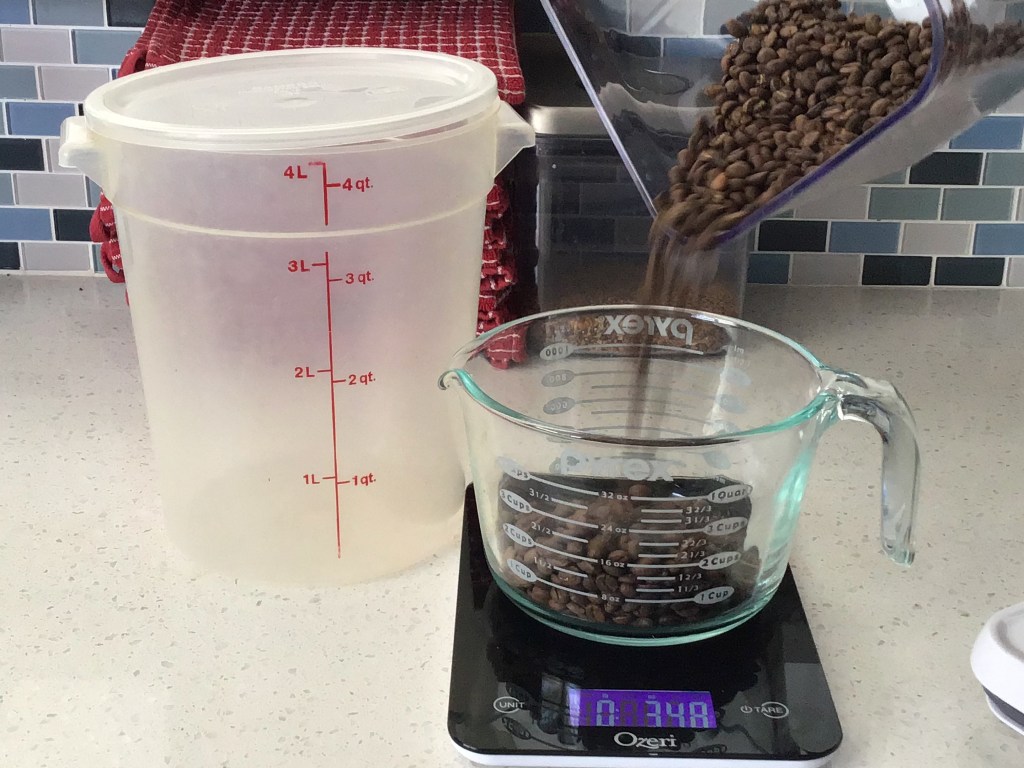
To get started brewing, you’ll need 12 ounces of whole bean coffee (pre-ground is okay, the coarser the better), a coffee grinder, and a sealable container like a 4 quart round Cambro that fits in your refrigerator.
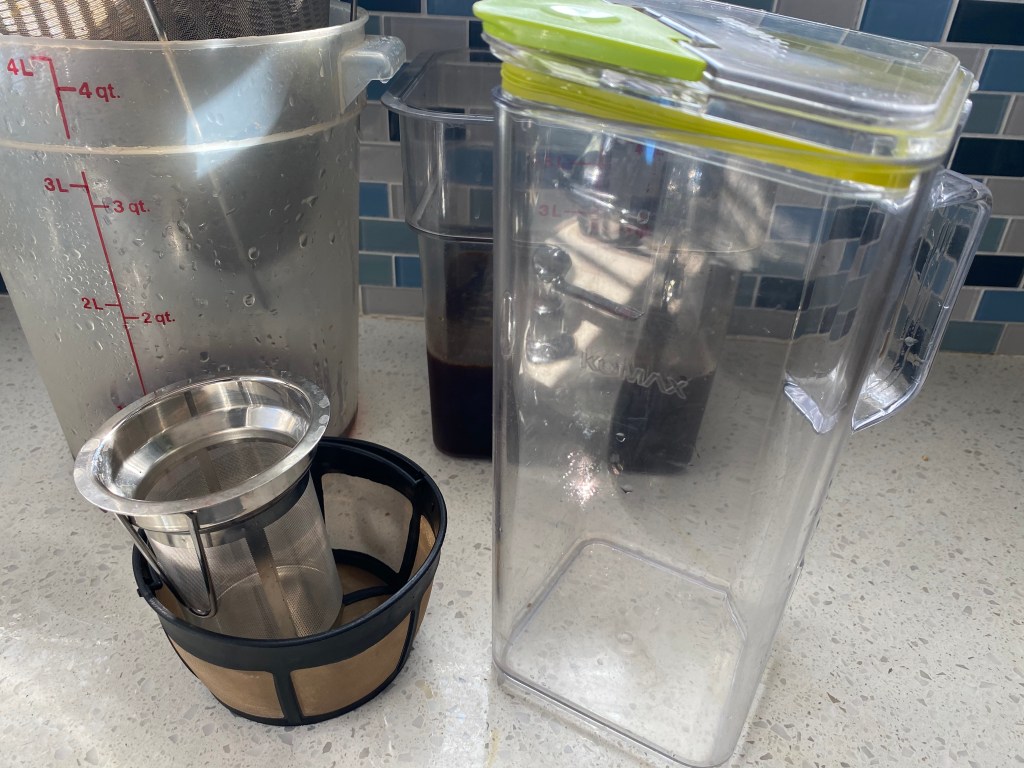
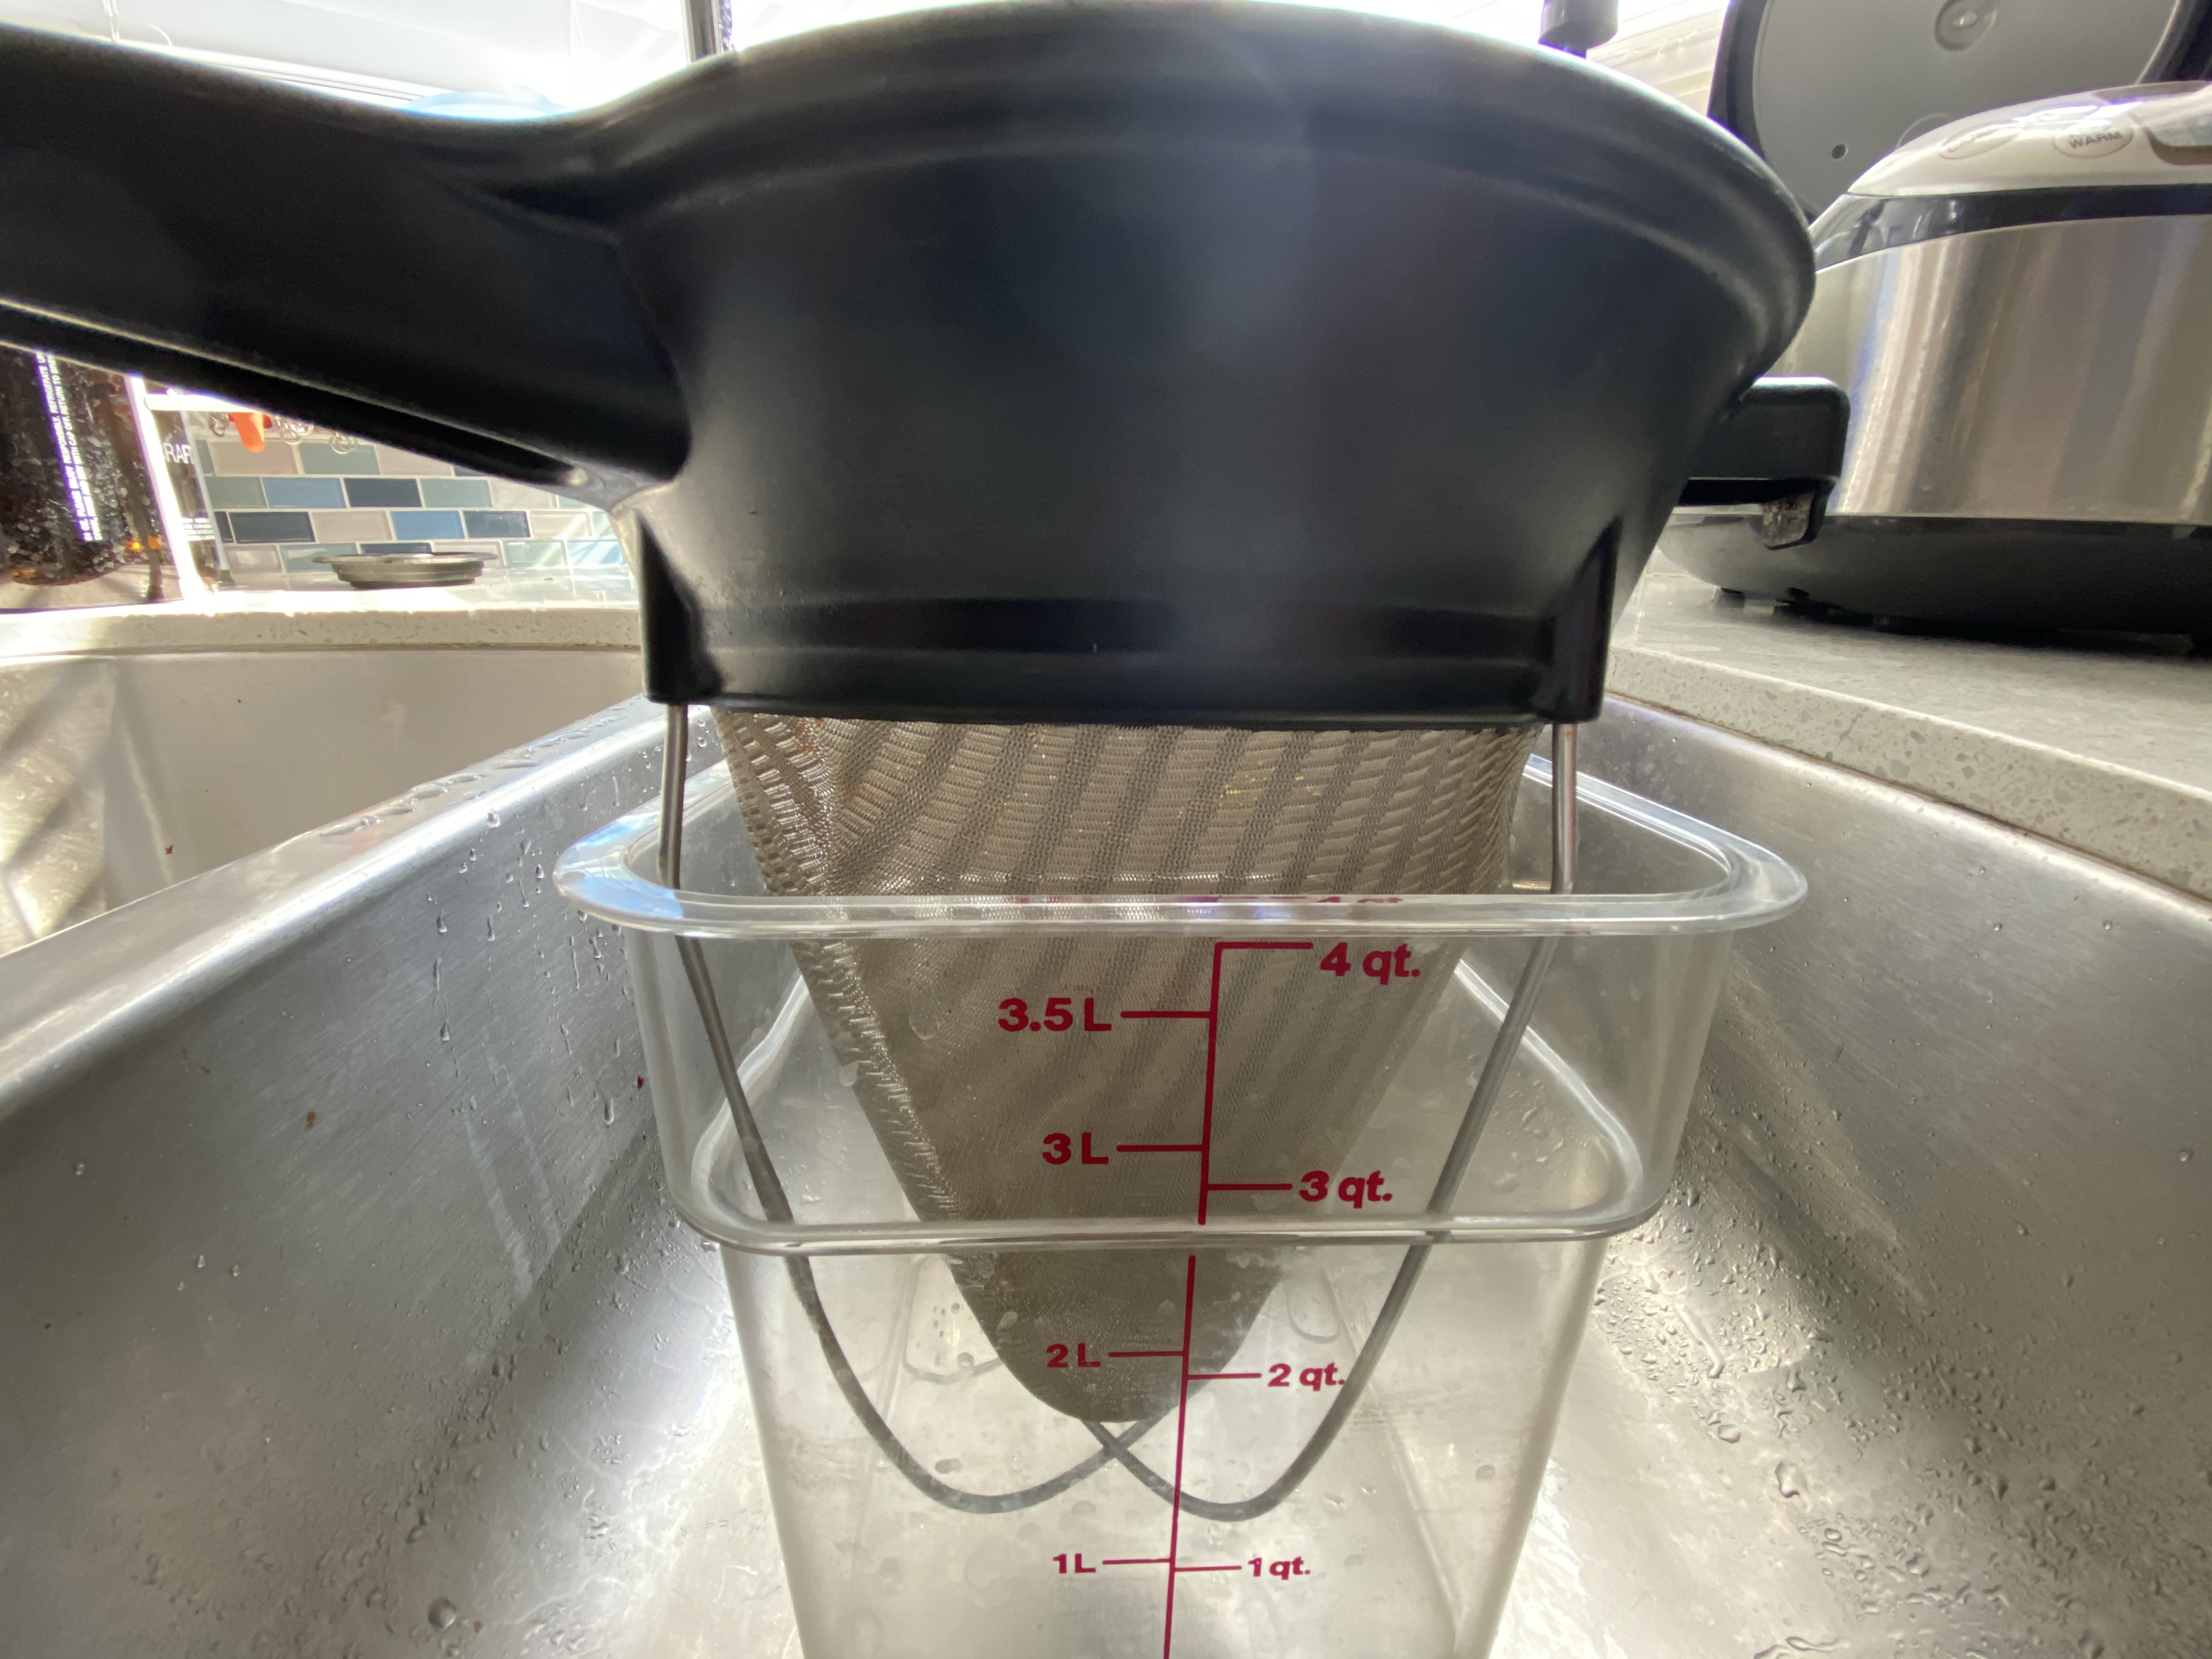
On Day 2, we’ll drain the coffee grounds through three reusable filters: a conical sieve, a stainless steel tea strainer and a goldtone mesh coffee filter. We’ll also need another container that the conical sieve can sit inside to start filtering. We use a sturdier square 4 quart Cambro Finally, we’ll need a sealable container to store the coffee in the refrigerator, like this flip-top plastic beverage pitcher.
Day One – Prep & Grinding
Before you begin, wash your hands thoroughly and ensure your grinder and measuring cup are clean as well. First, measure out twelve ounces of coffee beans.
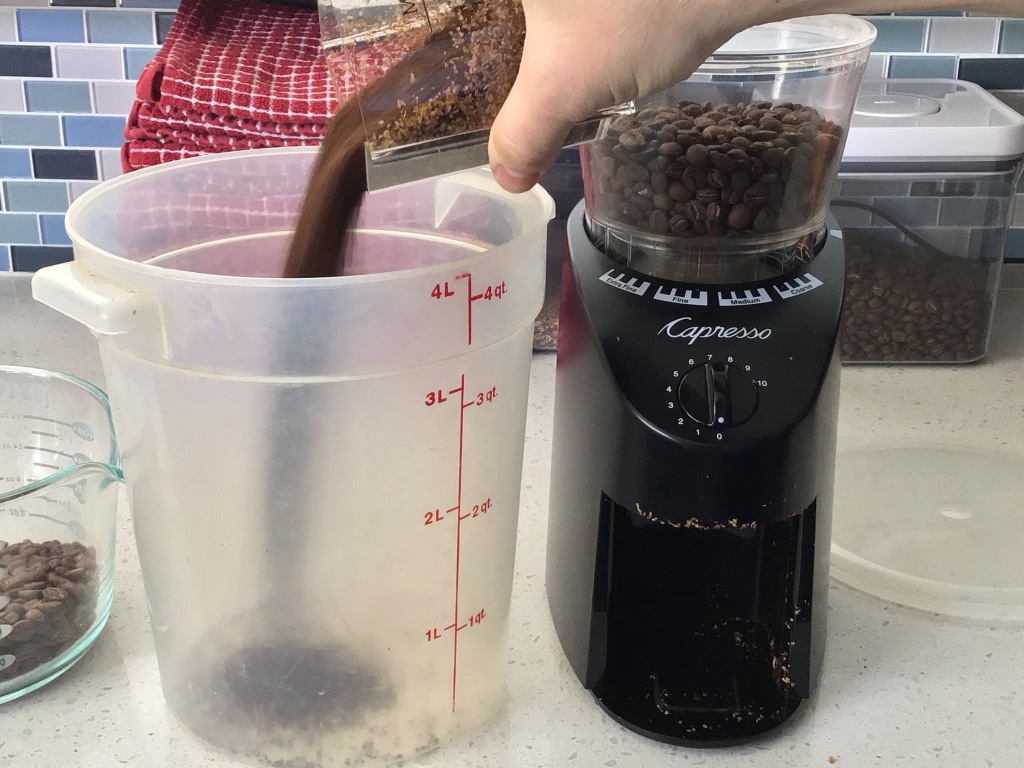
Next, grind twelve ounces of coffee beans on the coarsest setting your grinder has. When the grinder’s hopper starts to get full, dump the ground beans into your large sealable container.
Day One – Let the Brewing Begin
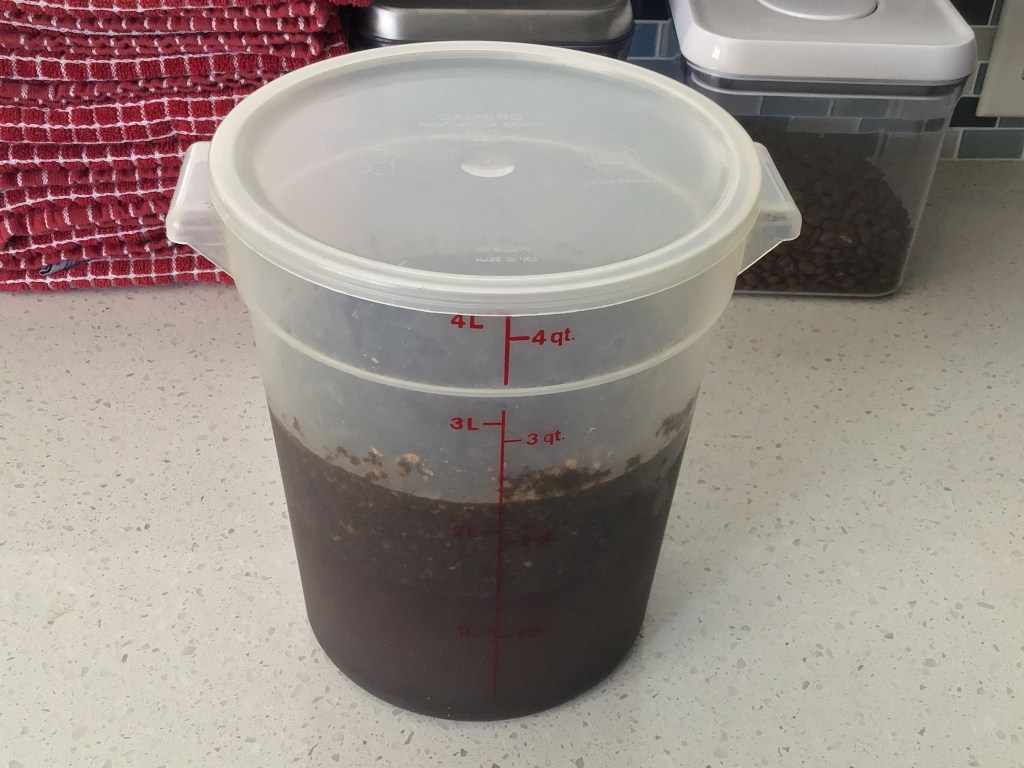
Now that the beans are ground, you’re ready to add water to the sealable container. For this method, we recommend 8 Cups of water for 12 ounces of beans. This ratio yields a little less than 2 quarts of cold brew concentrate, which fits nicely in the pitcher we’ve selected.

Seal up the container, and store it in the refrigerator for 24 hours. If you leave it in a little longer or take it out a little early, it’ll be just fine. We’ve had good results brewing for as little as 10-12 hours, but 24 hours is recommended for best results.
Day Two – Filtering the Coffee
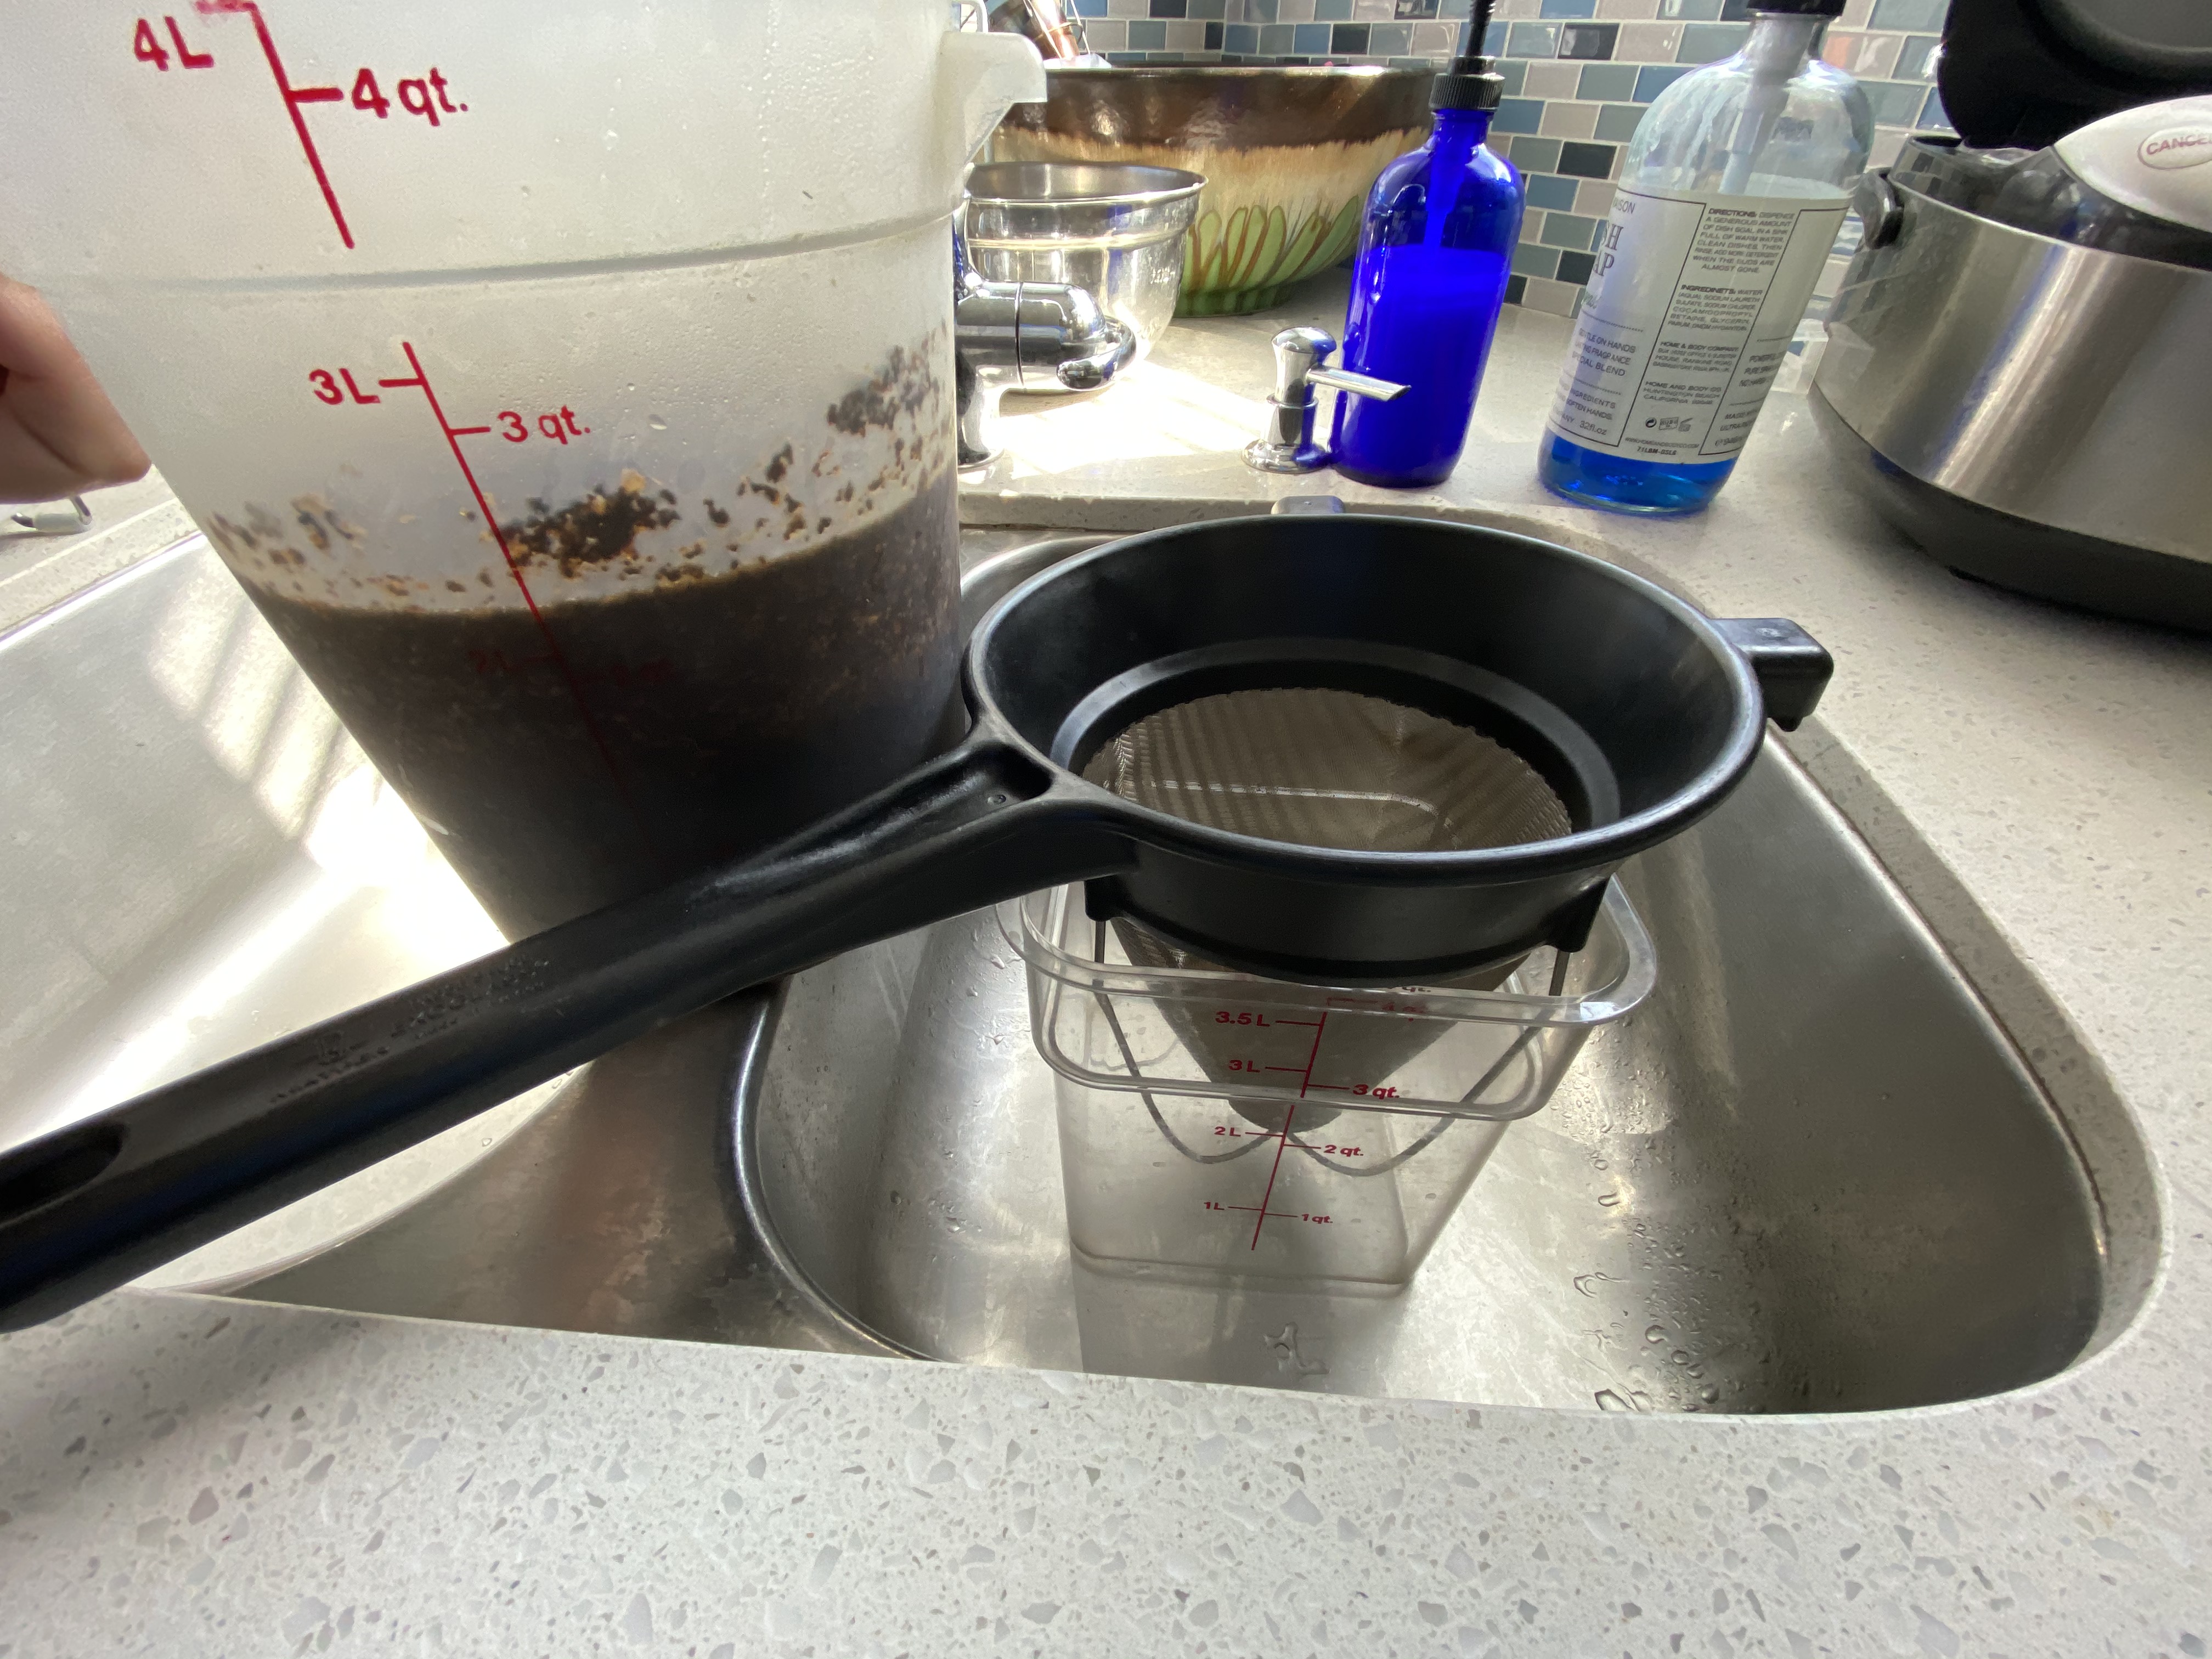
Stage the conical sieve inside the square Cambro, preferably in a sink basin to get ahead of any spillage. Pour the coffee grounds and water mixture into the conical sieve and let it drain into the Cambro.
Scrape any remaining coffee grounds in the round Cambro into the seive, rinse the round Cambro, then transfer the conical sieve from the square Cambro to the round one to allow for additional coffee to collect in the round while you’re working with the square Cambro.
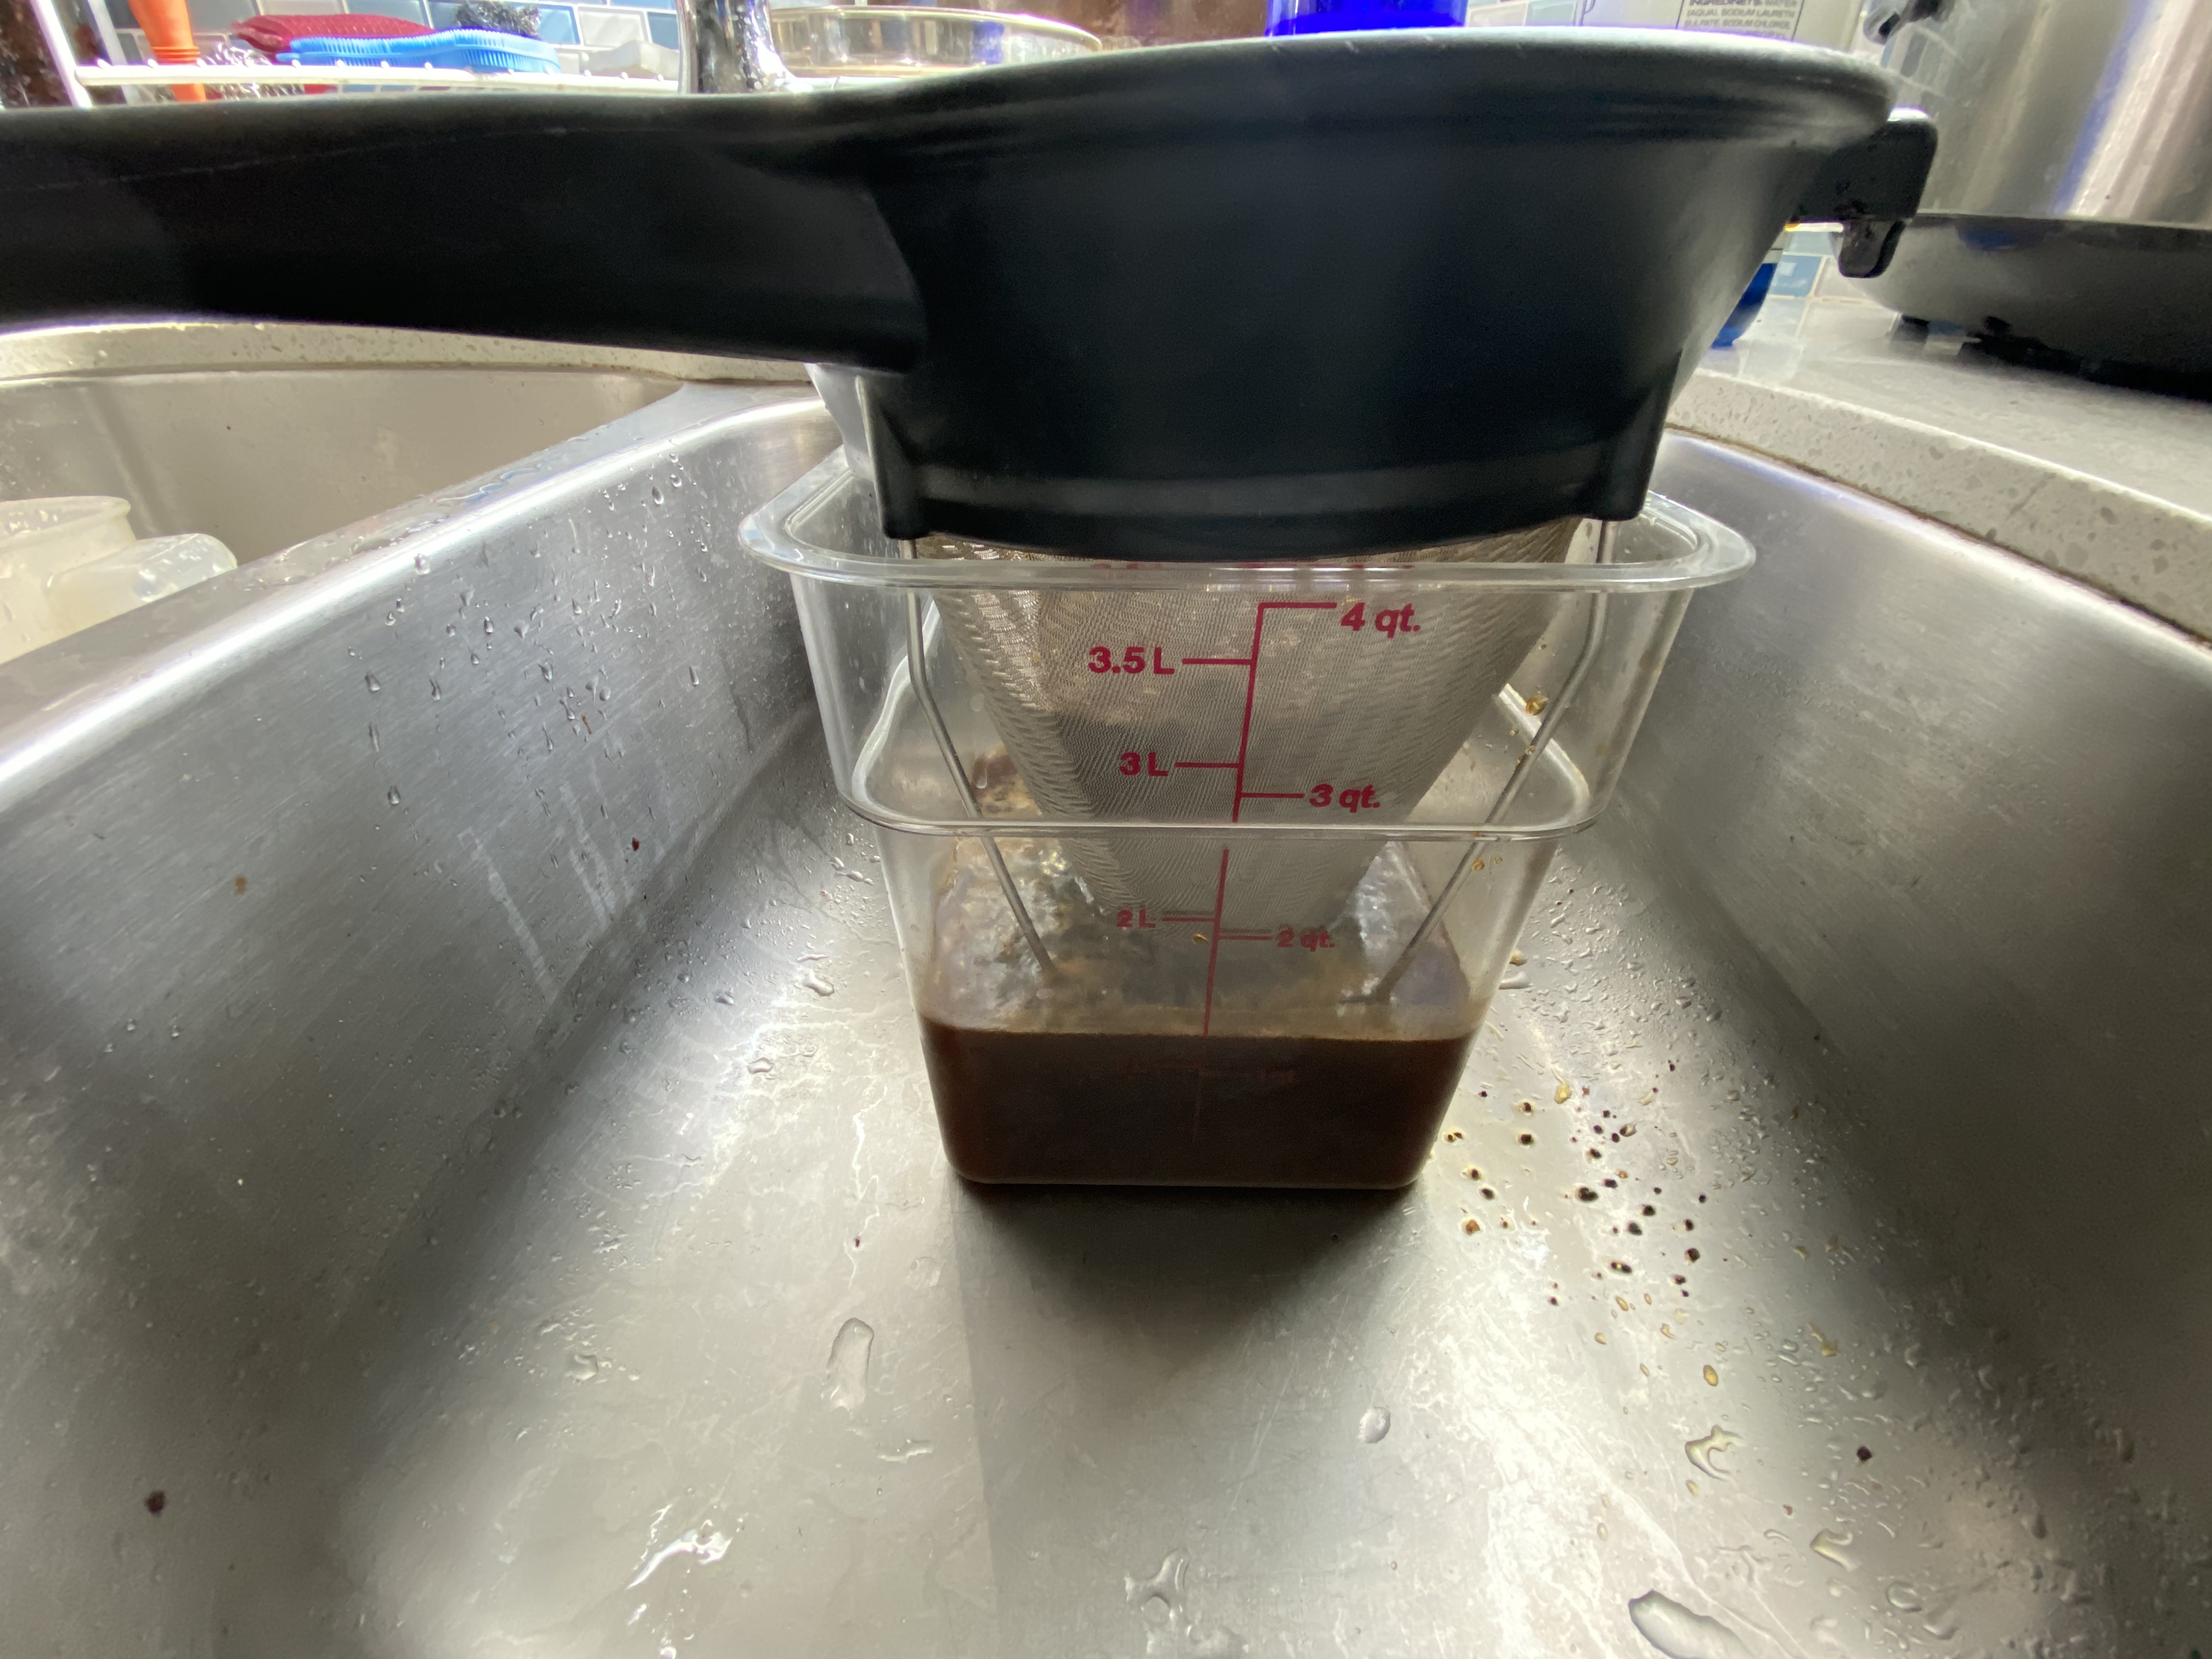
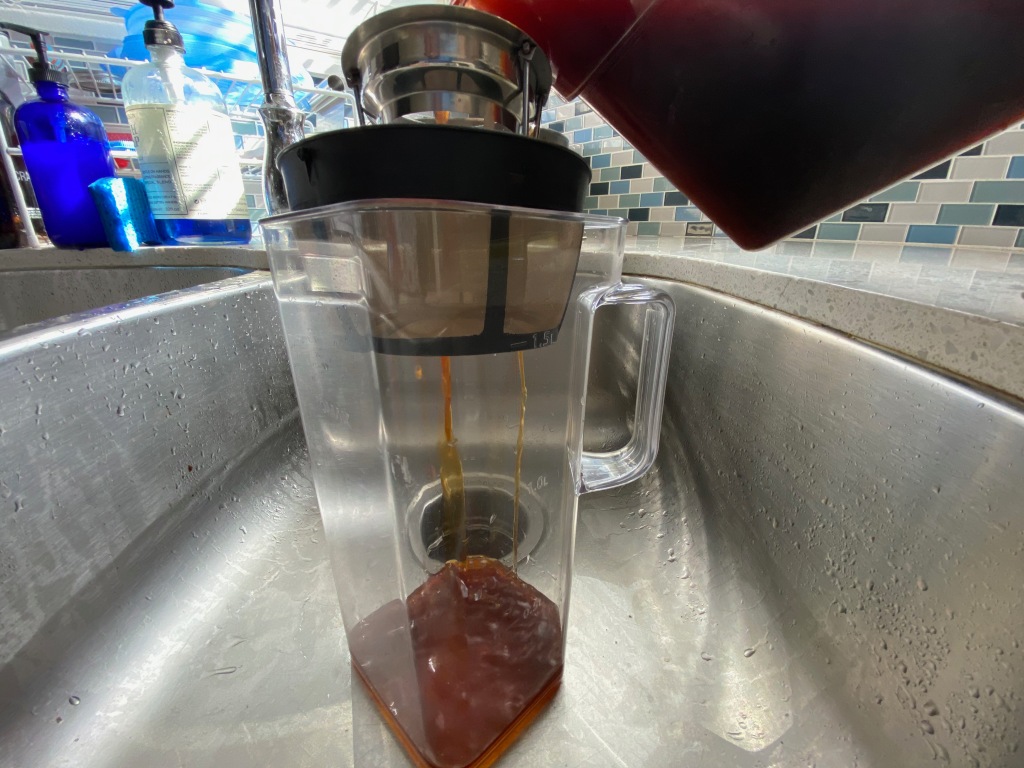
Next, we’ll filter the coffee again through the two finer mesh metal filters. If you have two different sizes of filter and the can stack like ours, then so you’ll only have to pour the coffee through once. You can filter into your measuring cup and then transfer to the pitcher, or if you’ve selected the materials we suggest, the filters will rest on the lip of the vessel and you can pour it right into the pitcher.
Day Two – Store & Enjoy!
Now that your cold brew coffee is triple filtered and in a sealable container, you’re ready to either store your coffee for weeks or to enjoy it right away.


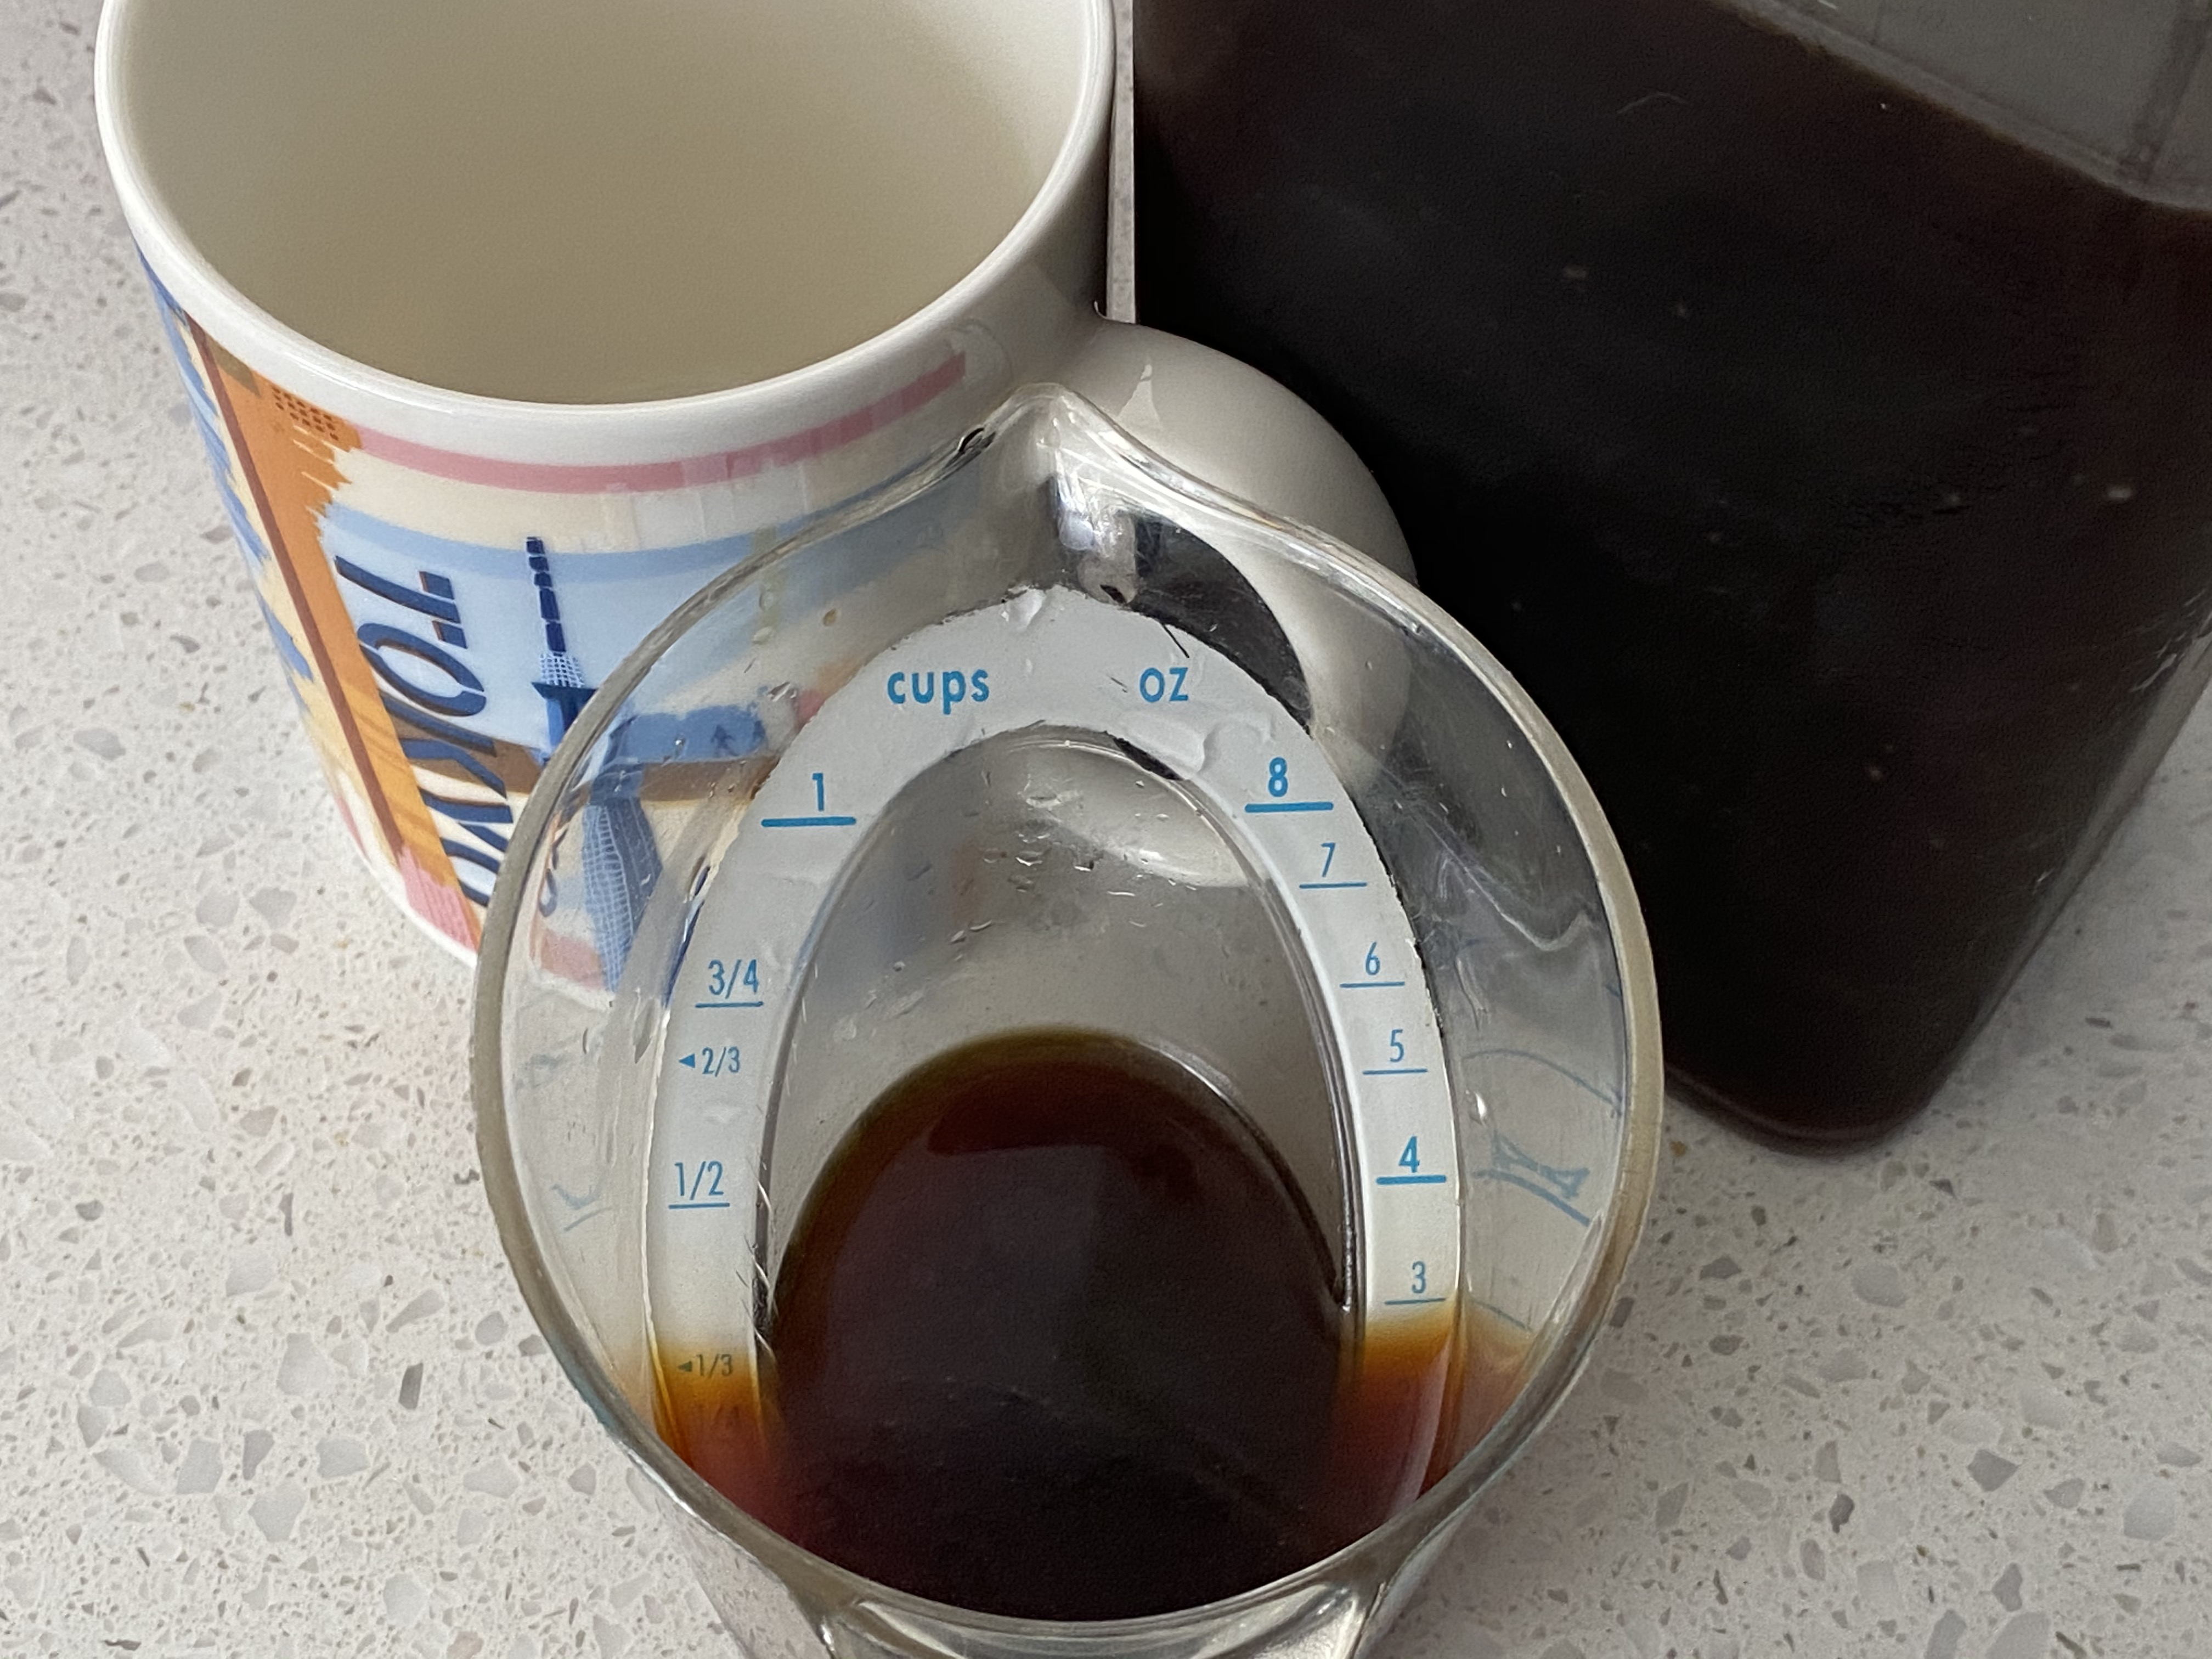
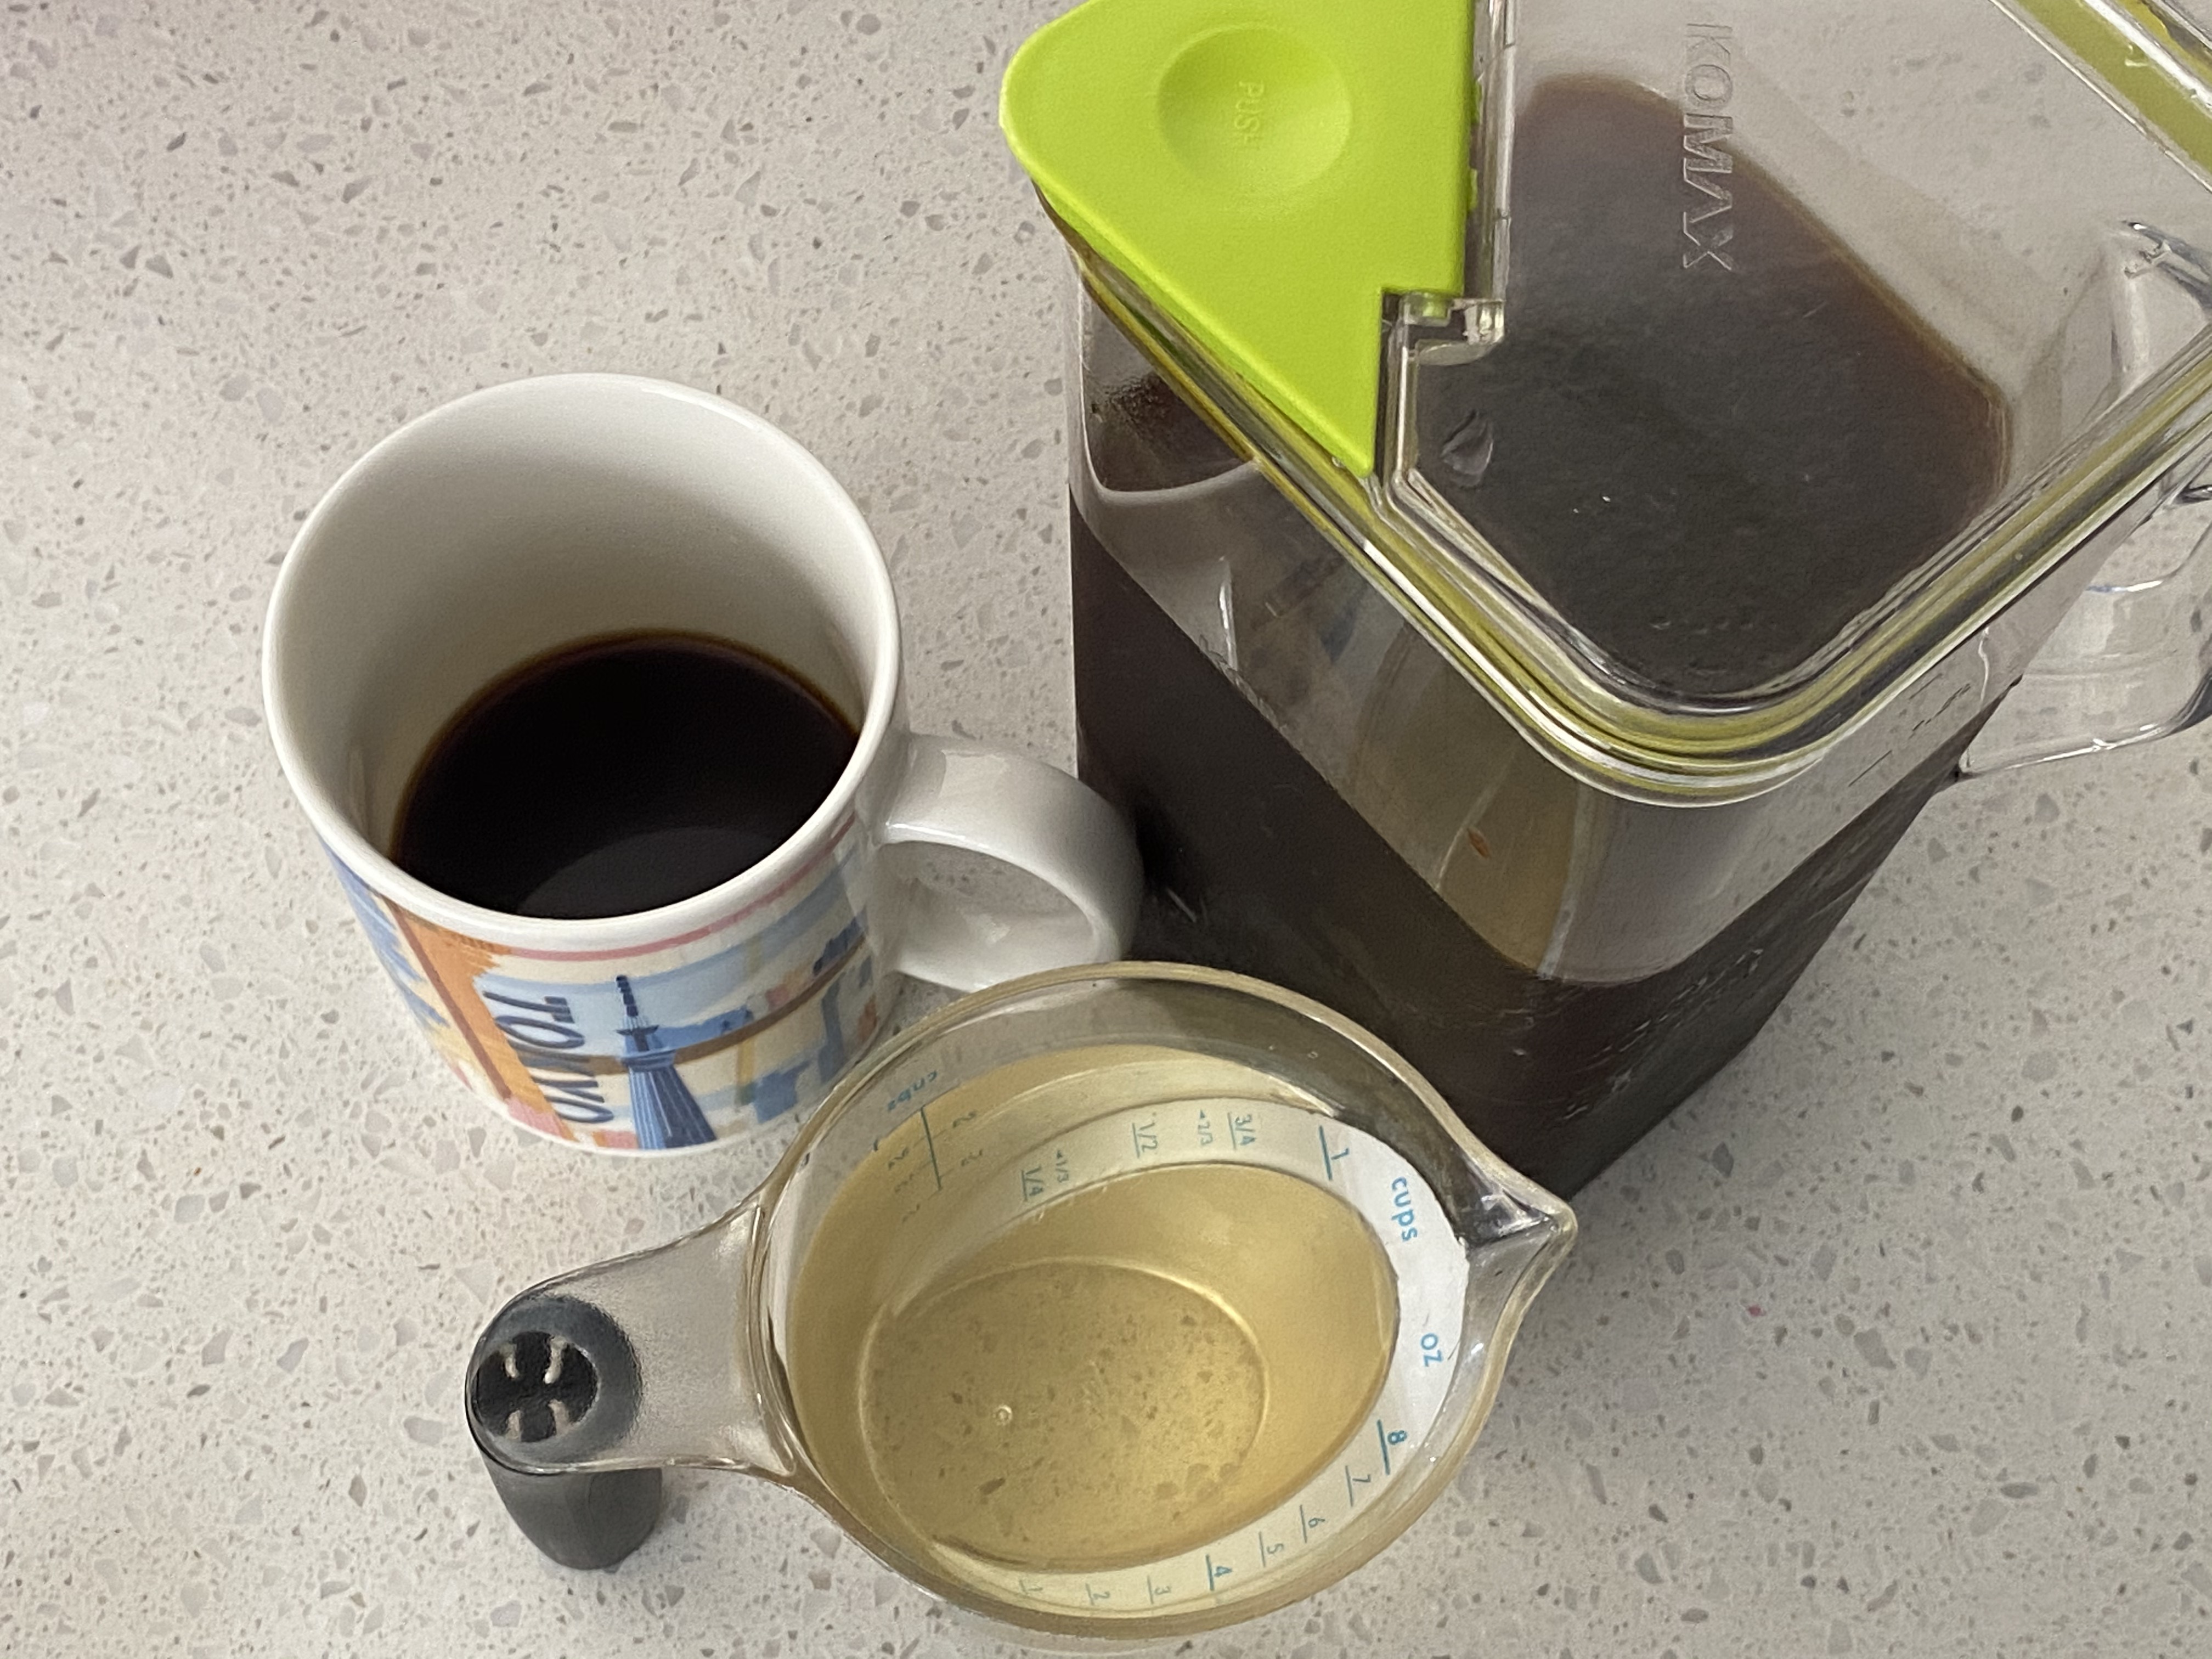
You can drink the coffee full strength, though we prefer to treat it like a concentrate and dilute it to taste. With this recipe we find that 1/3 cup (~80ml) of cold brew coffee concentrate to 1 cup (~236 ml) water is our perfect balance of flavor and caffeination.
Feel free to experiment with the ratios to figure out what tastes best to you. Remember there are no mistakes in the kitchen, only pre-successes!
If you’re interested in some tasty coffee suggestions, here’s what we’ve been drinking that’s local to us and delicious:
