
Welcome to Sous Vidas! Here’s a starting primer to get you introduced to the cooking with an immersion circulator. In this guide we’ll cover the supplies you’ll need to get started as well as some recipes and lessons we’ve learned along the way. First, we’ll need to get you set up with the gear.
The Gear
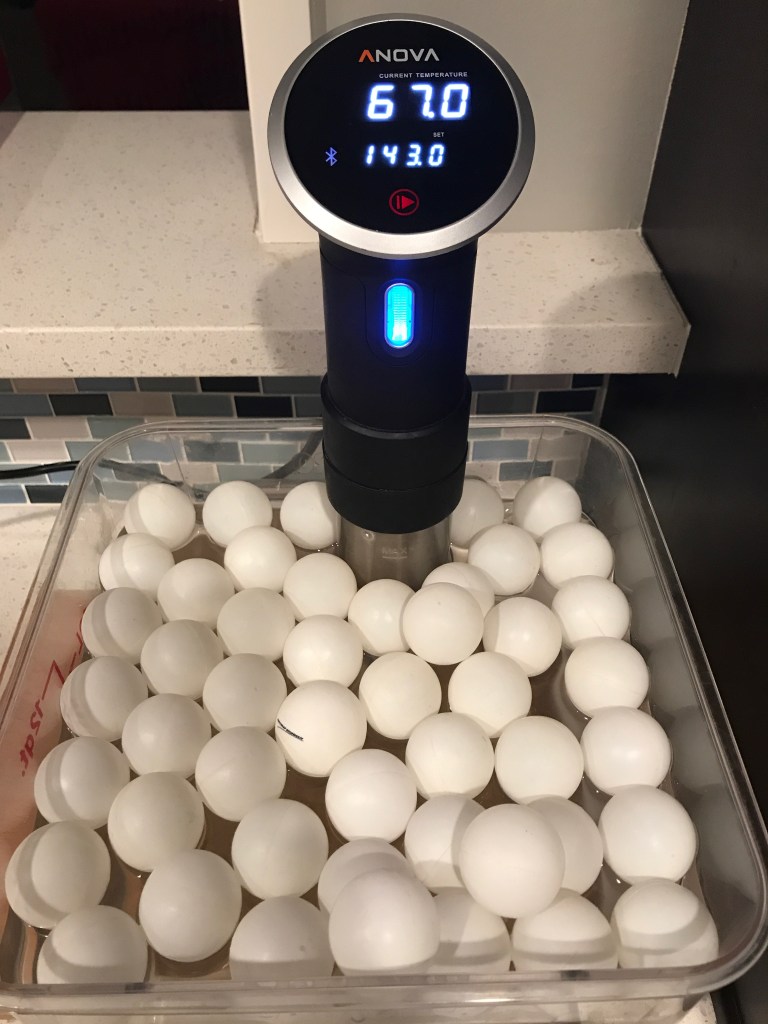
In our kitchen we use an Anova immersion circulator to sous vide and it is reliable and really easy to use. Additionally, our unit once broke and Anova replaced it, even outside of warranty. So. I like that. We use it a TON, so I wasn’t even mad if they didn’t replace it, I feel like I more than got my money’s worth. We just bought a new one.
Professional grade models are four times to eight times the cost, so right now we’re sticking with what works for us, and what we’re happy with.
We like 12 quarts as the size for our water bath and we like clear Cambro bins in particular. Square works best for our counter setup. A 12 qt stock pot works fine, but then you’re out that stock pot and that doesn’t work for us. Figure out what works best for you and the size of the food you’re cooking.
We’re also employing ping pong balls (the cheapest we can find, not suitable for play) to both keep valuable water bath heat in while minimizing water evaporation as well.
This is the (since updated) model of the vacuum sealer we’ve got. You can definitely without this and go the Ziploc route or even reusable silicone bags, but it is pretty vital for meal prep. Like. If you don’t have a vacuum sealer you can’t buy like 12 pounds of pork loin and cut your own chops, season, freeze and then your meal prep is done for like six meals of pork chops for two.
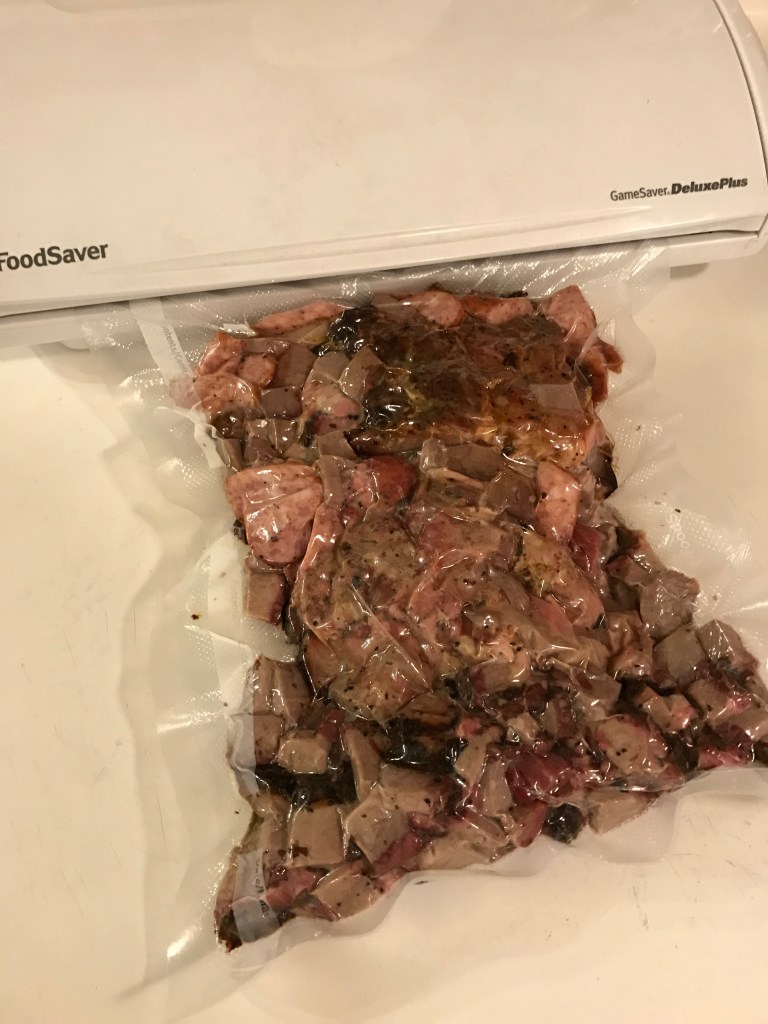
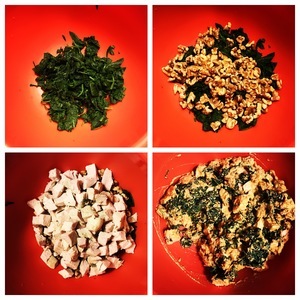
We’ll typically buy a ton of protein and then cut or butcher it so there’s two portions per bag. Then we’ll season it, vacuum seal it, and freeze it, so when we’re ready to cook it we can and just toss it in to the water bath in the morning, and dinner is ready, well, at dinner time.
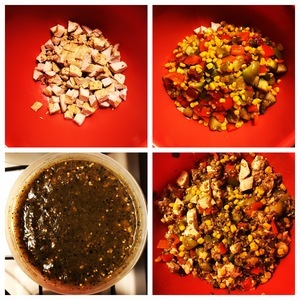
Precut bags are dumb. It’s a good way to get used to sealing stuff, but it’s wasteful AF. When you go with an uncut roll you’ll also have the option of cutting your bags to size when you have bigger portions like this beautiful specimen of diced barbecue leftovers that we vacuum sealed and froze for future use in a smoky heritage barbecue brisket chili. Nom!
Recipes & Reading
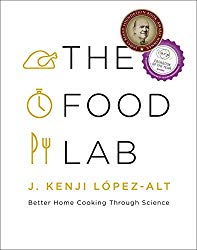
We mostly Google search for sous vide recipes, and Serious Eats is our number one source. The creator of the site, J. Kenji López-Alt, also wrote The Food Lab: Better Home Cooking Through Science and it has so much more than sous vide. If you’re into learning more about the science of food, we highly recommend it and it was the James Beard best cookbook 2016 for good reason.
We’ve been through our share of other sous vide books and for further reading, there’s only one other book we’d strongly recommend and it’s Under Pressure: Cooking Sous Vide, by Thomas Keller.
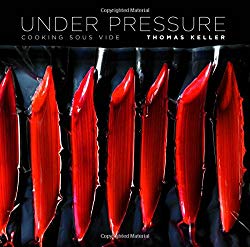
But that’s like basically a fantasy novel. Like a pure fantasy novel based in the eighties. You will learn like four things from that book and make zero recipes because what the heck is even happening there? But as you start to get more comfortable with the basics, some of these ideas might seem more intriguing. Especially once we start going over magic salts.
Let’s Get Cooking
Advanced warning to those who have not cooked sous vide before: THE MEAT WILL LOOK WEIRD RIGHT OUT OF THE BAG. The standard process is to undercook most proteins and then sear it afterward so it looks more like a traditional meaty preparation. We don’t usually bother with that step anymore, and definitely not on weeknights when time is tight. It’s an extra step we don’t need.
Sous Vide Temperature Guide
- 120°F for steak I’m gonna sear, so it finishes at medium-rare
- 130°F for beef out of the package
- 130°-140°F for pork. We’ve grown to appreciate medium rare pork
- 130°F for leg of lamb
- 140°F for salmon (usually about 17 minutes is the sweet spot for us)
- 150°F for chicken, for about 2-4 hours
- 150°F for sausage
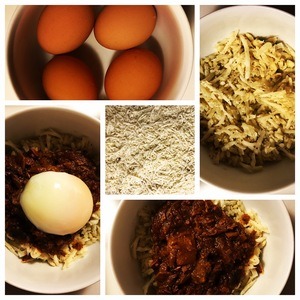
- 65.5°C (Celcius!) for eggs, for 45 minutes, then chill. Reheat by pouring boiling water over them in a bowl and let stand for 3 minutes, then crack your perfectly poached egg onto your breakfast plate, into chili, or anything else you’d like to introduce an inexpensive yet luxury mouthfeel to.
Note: In general we’ll drop the temperature 10 degrees for protein (unless otherwise noted) if we’re searing it afterward to account for the extra cook sustained during the searing process.
One final pro tip before you go: start a container in the freezer that you drain all your meat or pork juices into. That delicious collection of flavor will become gravy after we show you how to sous vide a top round for 24 hours and roast a head of garlic and puree cauliflower and then delicious gravy all over all that.
